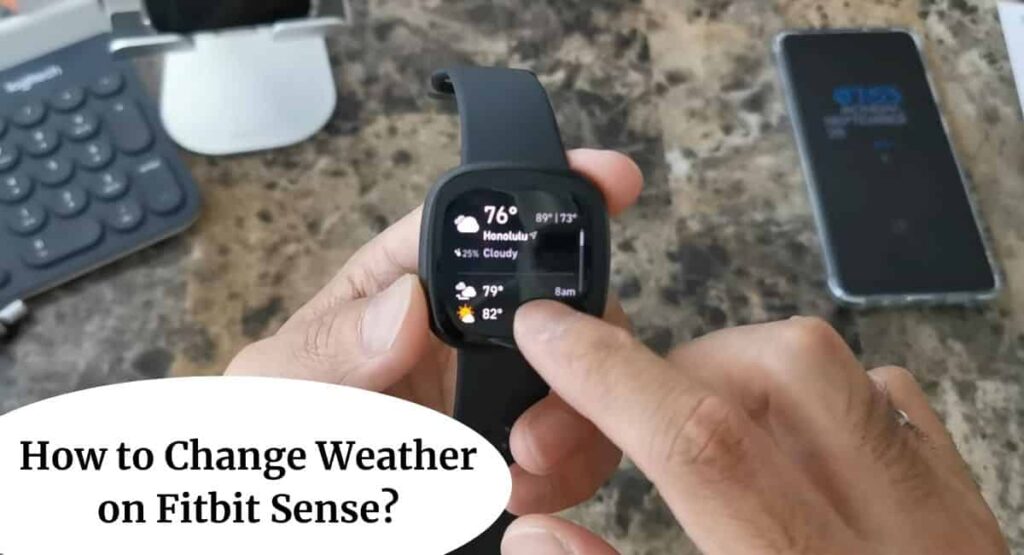
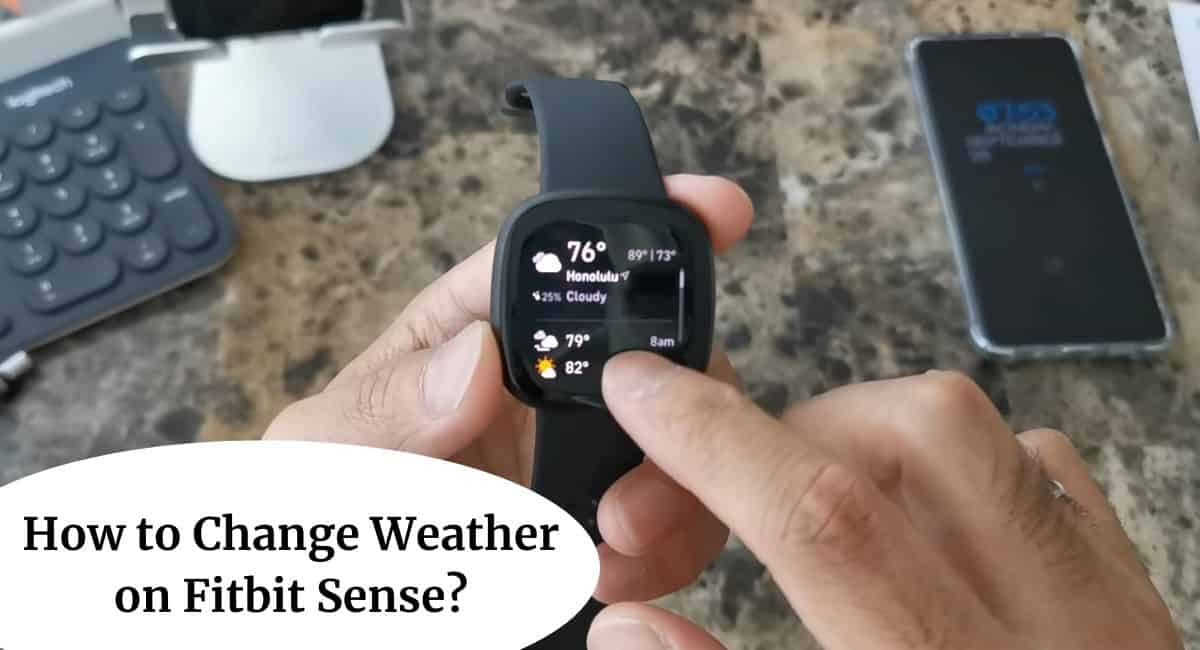
Are you tired of getting caught in unexpected weather conditions without proper preparation? With your Fitbit Sense smartwatch, you can easily stay ahead of the weather by changing the weather settings to display real-time updates on your wrist. Whether you’re planning a morning jog or an outdoor adventure, knowing the weather conditions beforehand can make all the difference.
Here, we’ll walk you through the simple steps on How to Change Weather on Fitbit Sense. So, make sure to read this completely.
How to Change Weather on Fitbit Sense

Changing the weather settings on your Fitbit Sense, allows you to access the weather information for your desired location right from your wrist.
Keep in Mind before Changing Weather on Fitbit Sense
There are a few important things to keep in mind –
- Ensure Stable Internet Connection – Before making any changes to the weather settings, make sure that your Fitbit Sense is connected to a stable internet connection. This will ensure that the weather data is accurately updated and displayed on your device.
- Check Location Accuracy – Double-check that the location settings on your Fitbit Sense are accurate. The weather information provided will be based on the location specified on your device. Verify that the location is set correctly to receive the most relevant and up-to-date weather data.
- Weather Provider Compatibility – Fitbit Sense uses a specific weather provider to fetch the weather data. Ensure that your desired location is supported by the weather provider used by Fitbit. Some remote or less-populated areas might have limited or no weather information available.
- Weather Refresh Interval – Keep in mind that the weather data on your Fitbit Sense is not constantly updated in real time. The weather information is typically refreshed at regular intervals, so it might not reflect the most current conditions. Be aware of this limitation when relying on the weather information provided by your smartwatch.
Also Read: Is Fitbit Waterproof
How to Change Weather on Fitbit Sense
Here is a step-by-step guide on changing the weather settings on your Fitbit Sense –
Step 1 – Open the Fitbit App Launch the Fitbit app on your smartphone and ensure that your Fitbit Sense is connected and synced with the app. This will allow you to make changes to the settings on your device.
Step 2 – Go to the Device Settings Navigate to the device settings section within the Fitbit app. This is where you can access various settings and customize your Fitbit Sense to your preferences.
Step 3 – Find the Weather Settings Look for the “Weather” or “Clock Faces” section within the device settings. Depending on the app version or device firmware, the exact location of the weather settings may vary. Typically, you’ll find it under the “Personalization” or “Display” category.
Step 4 – Select Weather Provider Choose the weather provider that you prefer. Fitbit Sense offers a selection of weather providers that it uses to fetch weather data. Select the one that best suits your needs and preferences.
Step 5 – Enable Location Services Ensure that location services are enabled on your smartphone. Fitbit Sense uses your phone’s GPS to determine your current location and fetch accurate weather data. Make sure that the Fitbit app has permission to access your location.
Step 6 – Customize Weather Display Once you’ve selected the weather provider and ensured location services are enabled, you can customize the weather display on your Fitbit Sense. This may include choosing the temperature units (Celsius or Fahrenheit), enabling or disabling weather animations, or selecting the specific weather information you want to be displayed.
Step 7 – Sync Your Fitbit Sense After making the desired changes to the weather settings, sync your Fitbit Sense with the Fitbit app. This will update the settings on your device and ensure that the weather data is correctly displayed.
Customize Weather Display on Fitbit Sense

Here is a step-by-step guide on customizing weather display –
- Accessing Weather Settings – Open the Fitbit app on your smartphone and ensure that your Fitbit Sense is connected. Tap on the device icon at the top-left corner, then select your Fitbit Sense from the list of devices.
- Navigating to Weather Settings – Scroll down and tap on “Clock Faces” or “Clock & Faces” depending on the app version. Then, select the clock face that you’re currently using on your Fitbit Sense.
- Entering Weather Settings – Look for the weather-related options, which may be labeled as “Weather Display” or “Weather Preferences” Tap on it to access the weather customization options.
- Selecting Temperature Units – Choose your preferred temperature unit by tapping on the option labeled “Units” or “Temperature Units” You can switch between Celsius and Fahrenheit based on your preference.
- Enabling or Disabling Weather Animations – If you enjoy weather animations, find the option to enable or disable them. It might be labeled as “Weather Animations” or “Animations” Toggle the switch to turn them on or off according to your liking.
- Choosing Displayed Weather Information – Explore the available options to customize the displayed weather information. Look for settings like “Weather Details” or “Displayed Information” Select the weather elements you want to see, such as temperature, forecast, humidity, or others.
- Making Additional Customizations – Depending on the Fitbit Sense firmware version, there may be more customization options available. Take a moment to review the settings and personalize the weather display according to your preferences.
- Syncing Changes – After you’ve made your desired customizations, ensure your Fitbit Sense is nearby and connected to your smartphone. Tap the “Sync” or “Apply Changes” button within the Fitbit app to sync the settings to your device.
- Enjoy Your Customized Weather Display – Put on your Fitbit Sense and enjoy the personalized weather display on your wrist. The weather information will be updated regularly based on your settings and provide you with at-a-glance updates throughout the day.
Wrapping Up
This article is all about How to Change Weather on Fitbit Sense. Customizing the weather display on your Fitbit Sense is a simple and personalized way to stay informed about the current weather conditions. By following the step-by-step guide and making the desired customizations, you can tailor the weather information displayed on your Fitbit Sense to match your preferences.
I hope this article was helpful to you and if you still find any queries then you may ask in the comment box. For more information visit the Help and Support Page. Also, read about Reset Fitbit Versa
FAQ’s How to Change Weather on Fitbit Sense
Can I change the weather display on my Fitbit Sense?
Yes, you can customize the weather display on your Fitbit Sense to show the information you prefer.
How do I change the weather location on my Fitbit Sense?
To change the weather location on your Fitbit Sense, follow the step-by-step guide outlined earlier in this article.
Can I add multiple weather locations on my Fitbit Sense?
Yes, you can add multiple weather locations on your Fitbit Sense and switch between them as needed.
Why is the weather information not updating on my Fitbit Sense?
If the weather information is not updating on your Fitbit Sense, ensure that your device is connected to a stable internet connection and that location services are enabled on your smartphone.
Can I customize the weather display to show additional information, such as humidity or wind speed?
The level of customization may vary depending on the specific weather app or service integrated with your Fitbit Sense. Check the settings of the weather app on your Fitbit Sense to see if additional information can be displayed.
Will changing the weather display settings impact the battery life of my Fitbit Sense?
While customizing the weather display may have a minimal impact on battery life, Fitbit devices are designed to optimize battery performance. However, frequent syncing or data updates related to weather information may slightly impact battery usage.
